| Table of Contents |
|---|
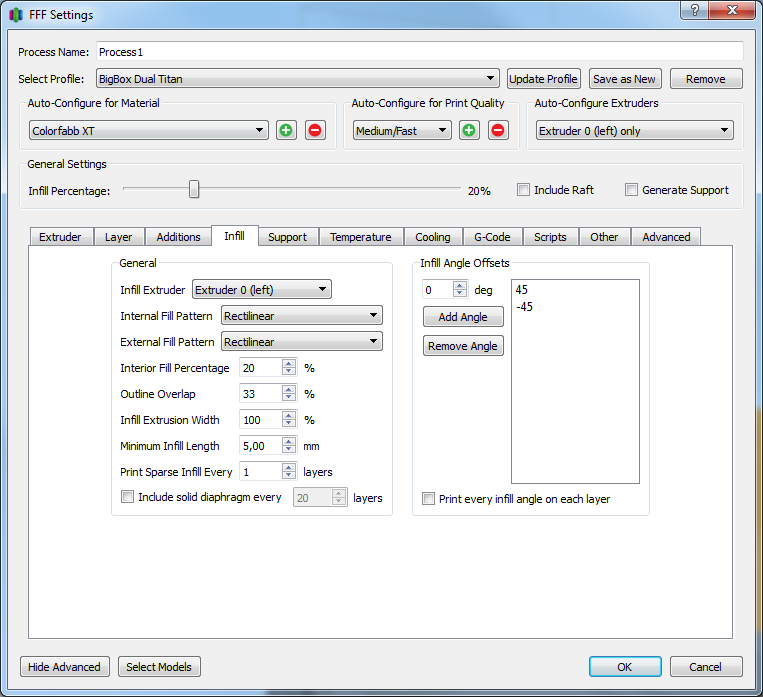
General
Infill Extruder
Pick which extruder you'd like to extrude the infill of your part with.
External Infill Pattern
The top and bottom solid layers will be printed with this choice. Either Rectilinear or Concentric. Concentric infill will mimic your perimeter outlines, coming inwards. For a cylinder, it would make smaller and smaller circles.
Rectilinear is the more common choice, it will fill in using straight lines.
Infill Fill Percentage
What % your part you'd like to be filled in.
Outline Overlap
This value will dictate how far into the perimeter the infill goes. If this value was 0, the infill would start of the perimeter and not overlap at all. At 100%, you would have complete overlapping. Calibrating this value, I would say the average value I find that works well is 30% for the printers I've used, but it does vary.
Infill Extrusion Width
This % will modify your extrusion width under the extruder tab for the Infill. If you have a .5 mm extrusion width under the Extruder tab and set a 200% Infill Extrusion Width, your Infill will be 1 mm thick.
Minimum Infill Length
This is default set to 5 mm, if there are small sections in the G-Code previewer that aren't filling in, you may want to set this to a lower value.
Print Sparse Infill Every __ layer(s)
If you'd like to only print Infill once every 2 or every 3 layers, then you'd place that number in the input. My experience has been that most printers can print infill at .3 mm just fine. Therefore, if I'm at .1 mm layer height, I'll use 3 sparse layers, and if at .15 mm I'll use 2 sparse layers.
Include Solid diaphragm every __ layers
A solid diaphragm is a layer of infill at 100%. For certain parts, this can be helpful, if you want to keep the infill % low, but also add the extra structural rigidity a 100% layer of infill can provide.
Use random Infill placement for each layer
When this option is enabled, each layer of infill will start at a random spot. This means that the lines of infill won't line up.
I personally am a fan of keeping this option off, stacking the layers of infill on-top of each other seems to provide stronger parts.
Infill Angles
Standard angles are 45/-45. That means that layer infill angles and external infill will print at alternating 45 degree angles. These values traditionally don't need to be adjusted, but I'm also a fan of using 0/45/-45/90 as the angle orientations.